
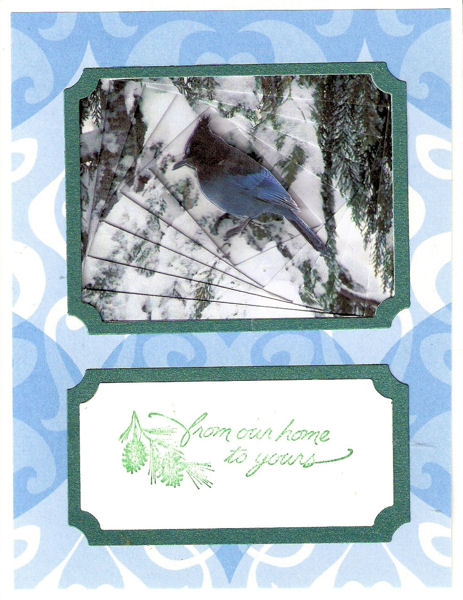
Reverse Iris Folding Insructions
Reverse iris folding looks very similar to iris folding but it is done using five to seven copies of a single image. Unlike iris folding, you work from both sides of the card. I like to combine a little 3D decoupage with my reverse iris folding.
For these instructions, I used seven copies. If you would like to use my picture, you can download it here. I sized it to 3 inches high by about four inches wide.
You will need:
- Ruler.
- 5 to 7 copies of a single image.
- Card blank
- Glue stick or tape.
- Needle or paper piercer.
- X-Acto or other craft knife
- Bone folder
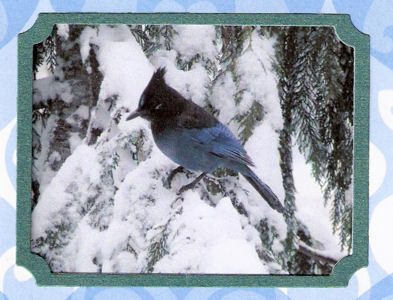
Step 1
Prepare your card by cutting an aperture in it that is slightly smaller than your image. Center your image behind the aperture and glue it in place.
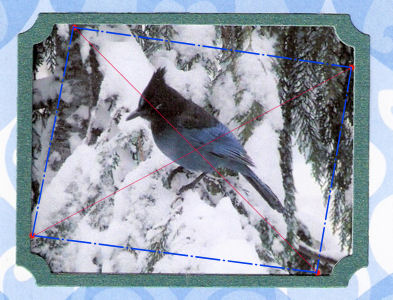
Step 2
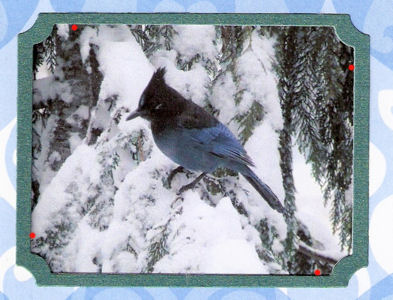
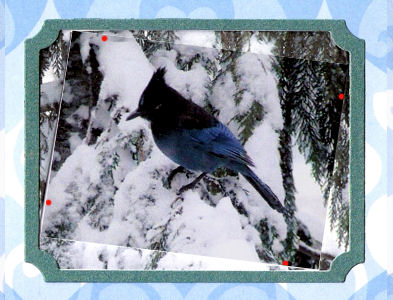
Measure 3/8 inch clockwise from each corner and mark by poking a small hole with the paper piercer as shown by the red dots in the illustration.
Step 3
Using the X-Acto knife, cut a slit diagonally from the top left hole to the bottom right hole.
Cut another slit diagonally from the top right hole to the bottom left hole. You should have an X cut across your picture now as shown by the red lines in the illustration.
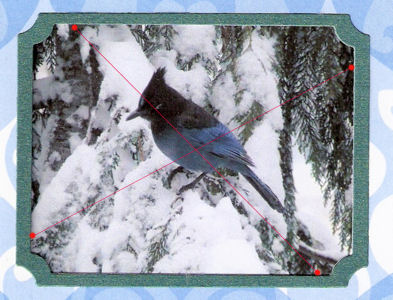
Step 4
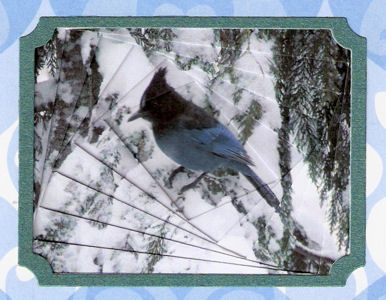
Working on the back side of the picture, use a bone folder to score a line from the bottom left hole to the bottom right hole, then from the bottom right to the top right, from the top right to the top left and the top left to the bottom left as shown by the dashed blue line in the illustration.
Fold toward the back on score lines and glue in place. Don't worry about trimming the excess paper until you are done.
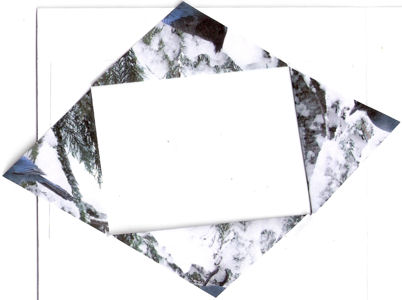
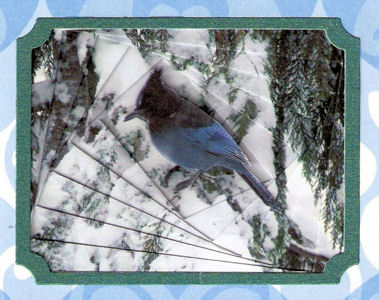
When you turn it over it should look like this.
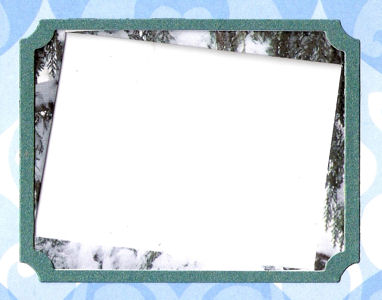
Step 5
Flip the card over and line it up over the next copy. Glue or tape in place.
Step 6
Measure 3/8 inch clockwise from each corner on the new layer and mark by poking a small hole with the paper piercer as shown by the red dots in the illustration.
Repeat from step 3 until you get to the last copy.
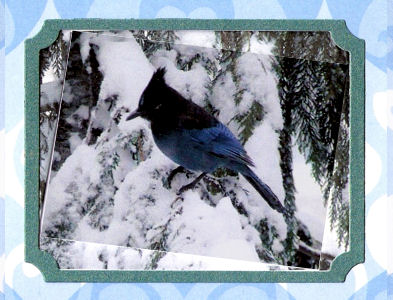
Step 7
Glue the last copy in place, but DO NOT cut it.
Step 8
Carefully cut the bird from the remaining copy and mount with foam tape it over the bird on the last layer to give it a 3-d effect.
Handcrafted Greetings Logo Designed by Tony Headrick