
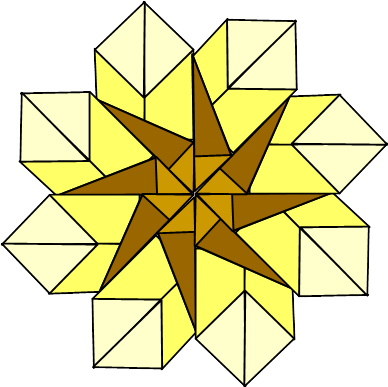
Inverse Star
I call this an inverse star because the points on the inner star point in the opposite direction from the points on the outer star. This six-step fold is quick and easy.
KEY
Mountain Fold
Valley Fold
Prev. Mountain Fold
Prev. Valley Fold
Valley Fold
Prev. Mountain Fold
Prev. Valley Fold
back
of tile
of tile
printed side
of tile
of tile
OR
printed side
of tile
If there is more than one layer. Upper layers will be darker (lightest on bottom, darkest on top).
of tile
Instructions
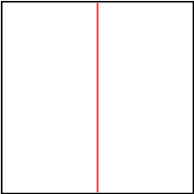
Fold the tile in half, then unfold it.
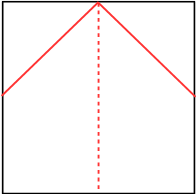
Fold the upper left and right corners down so that the edges align with the center fold line.
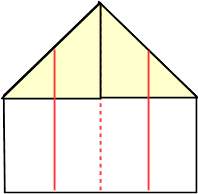
Fold the left and right sides in so that they align along the center fold line.
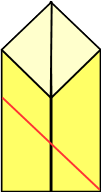
Fold the bottom left corner up diagonally so that the bottom edge aligns with the right side.

On the flap you just created, fold the top edge down so that it aligns with the bottom left edge.
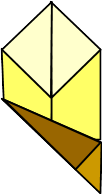
The completed tile should look like this. Make a total of eight.
Arrange tiles as shown. For best results use the eight section template to position your tiles. To print the template, visit the Tea Bag Tiles Page and select "template" for the shape and "all" for the color.
Handcrafted Greetings Logo Designed by Tony Headrick